Medicine Cabinet Makeover
An inside look at our process transforming a tiny Brooklyn bathroom from chaos into calm.
We all know that feeling. You’ve been ignoring an inconvenience for ages, and then one day a switch flips and you just have to do something about it.
Over the weekend I worked with a couple in Williamsburg, Brooklyn whose switch had totally flipped with their tiny (but oh-so-sunny!) shared bathroom.
Our goal? Keep surfaces clear and bring a zen touch to the space. For storage products, we chose to repurpose as much as possible and keep purchases to a minimum. I’m always excited to get creative and work with what what someone already owns (plus, rack up the bonus points for budget and environmental friendliness).
Below is a little photo tour and step-by-step recap of the process– enjoy!
x Eva

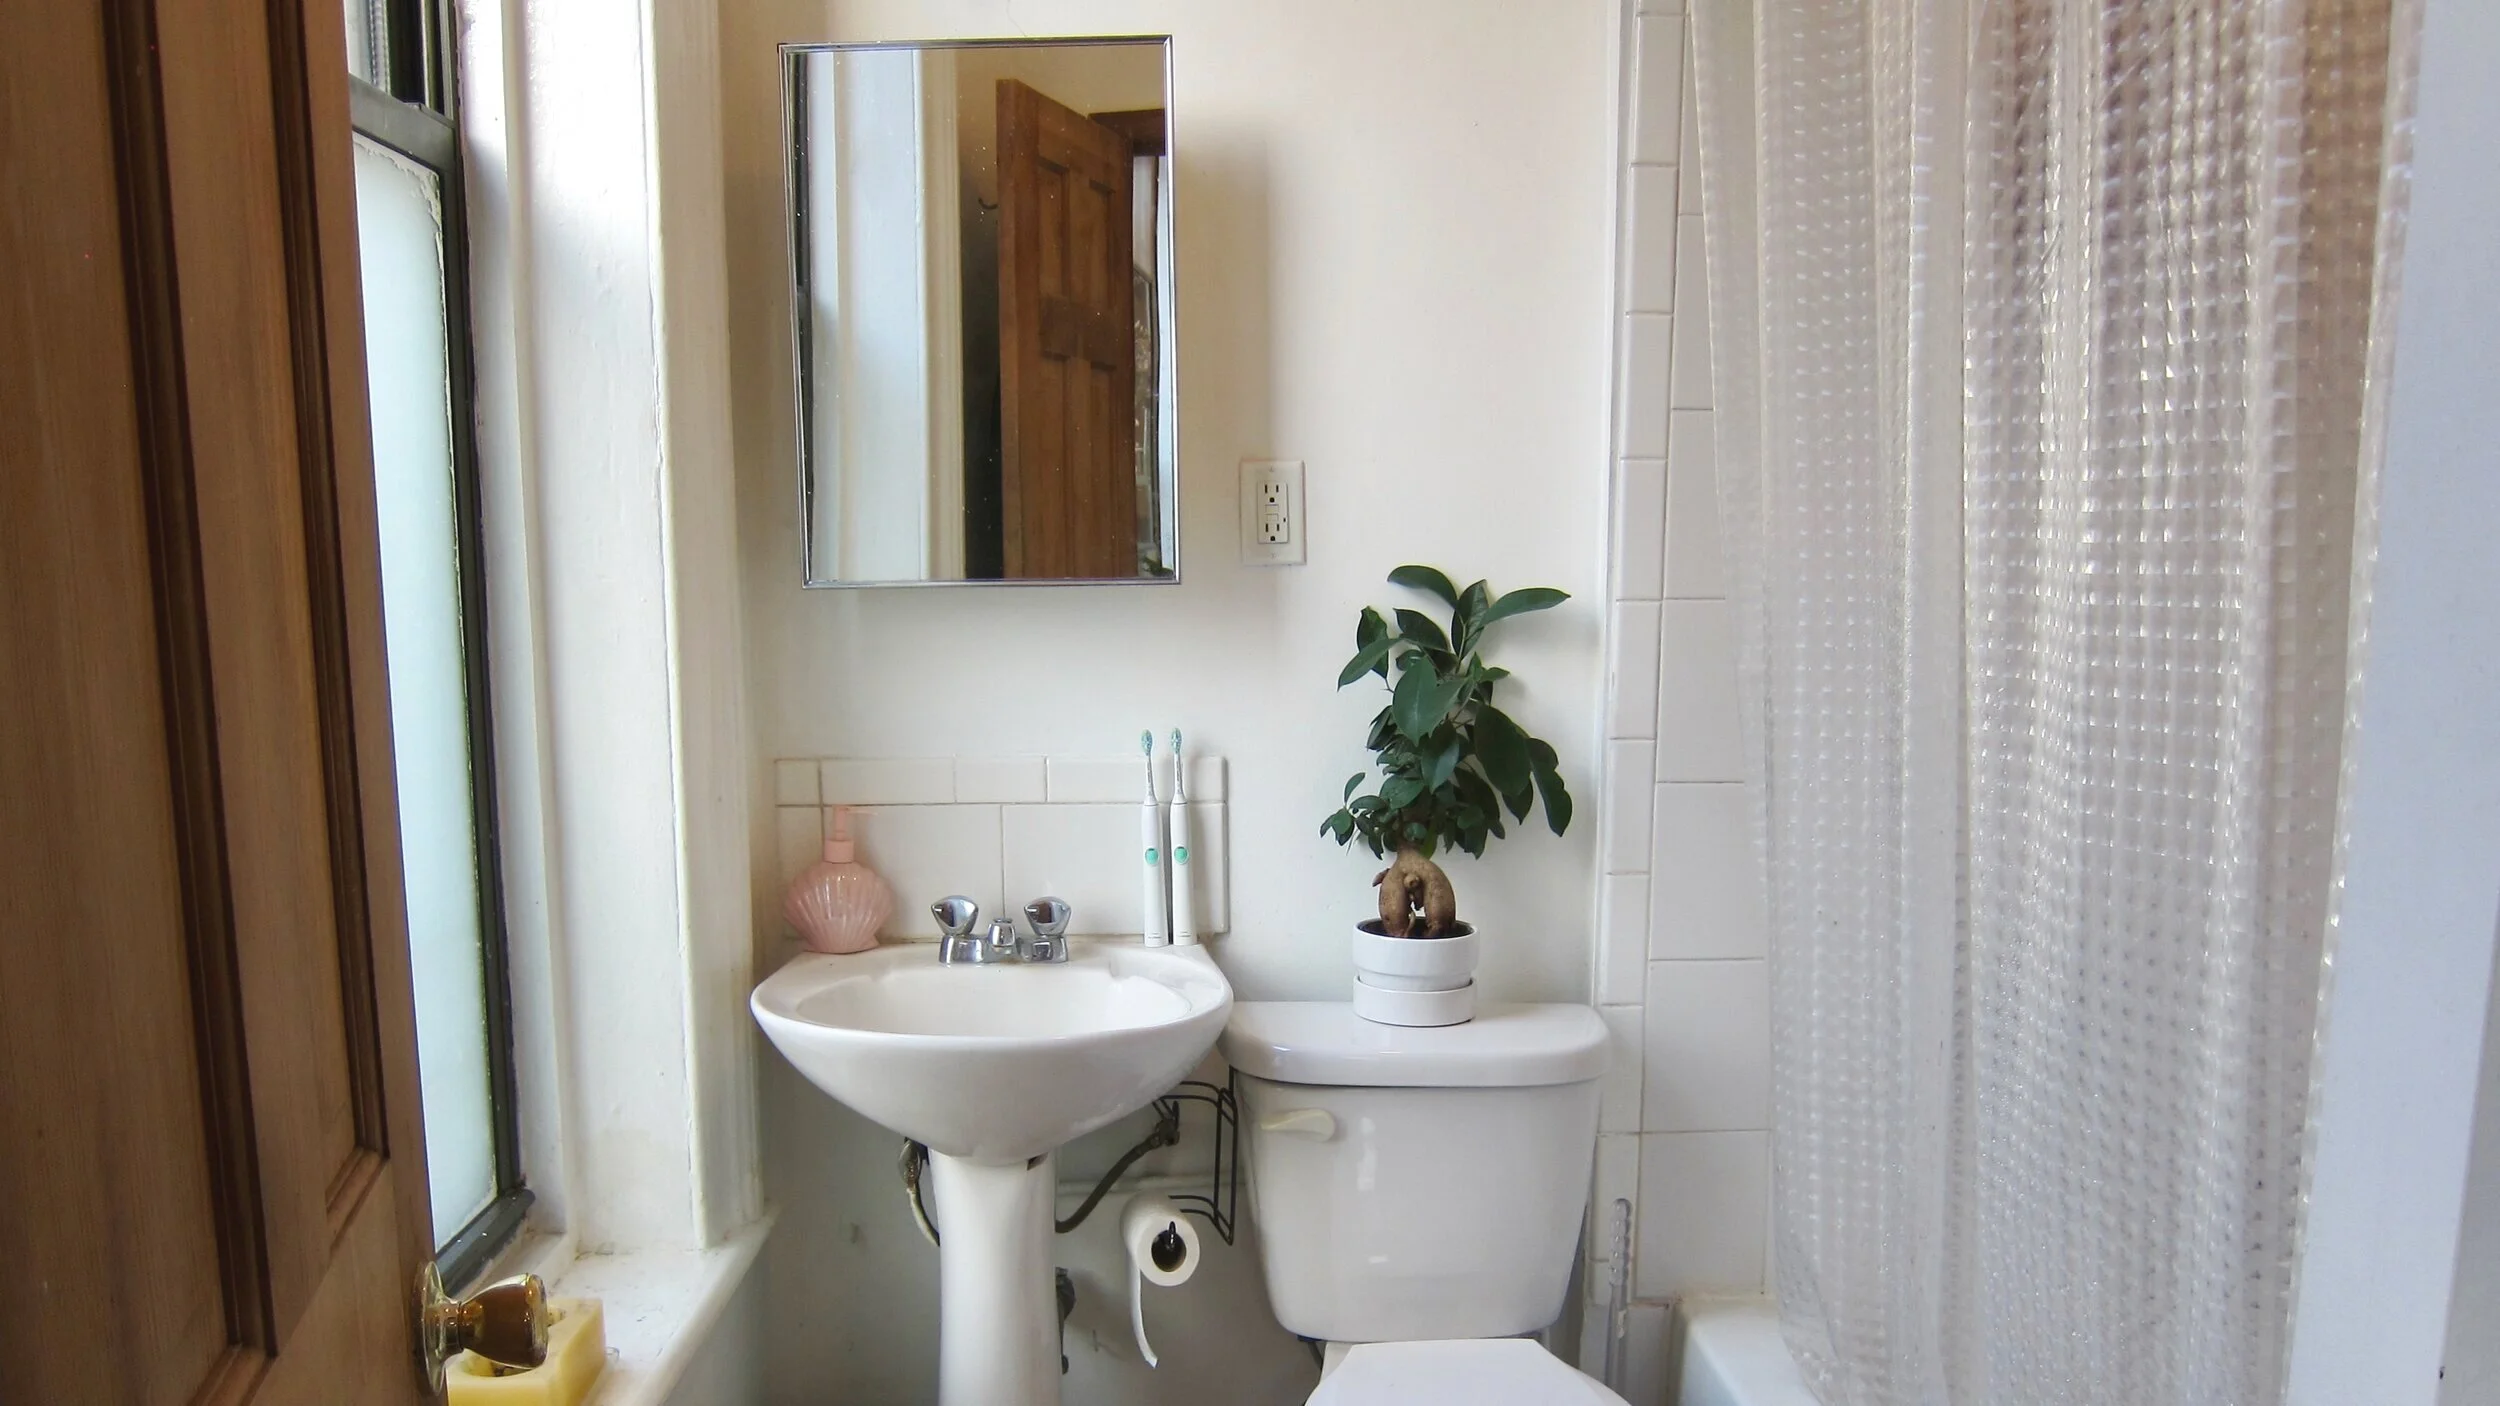
Before
As you can see, we’re working with very little storage… but I have a plan.
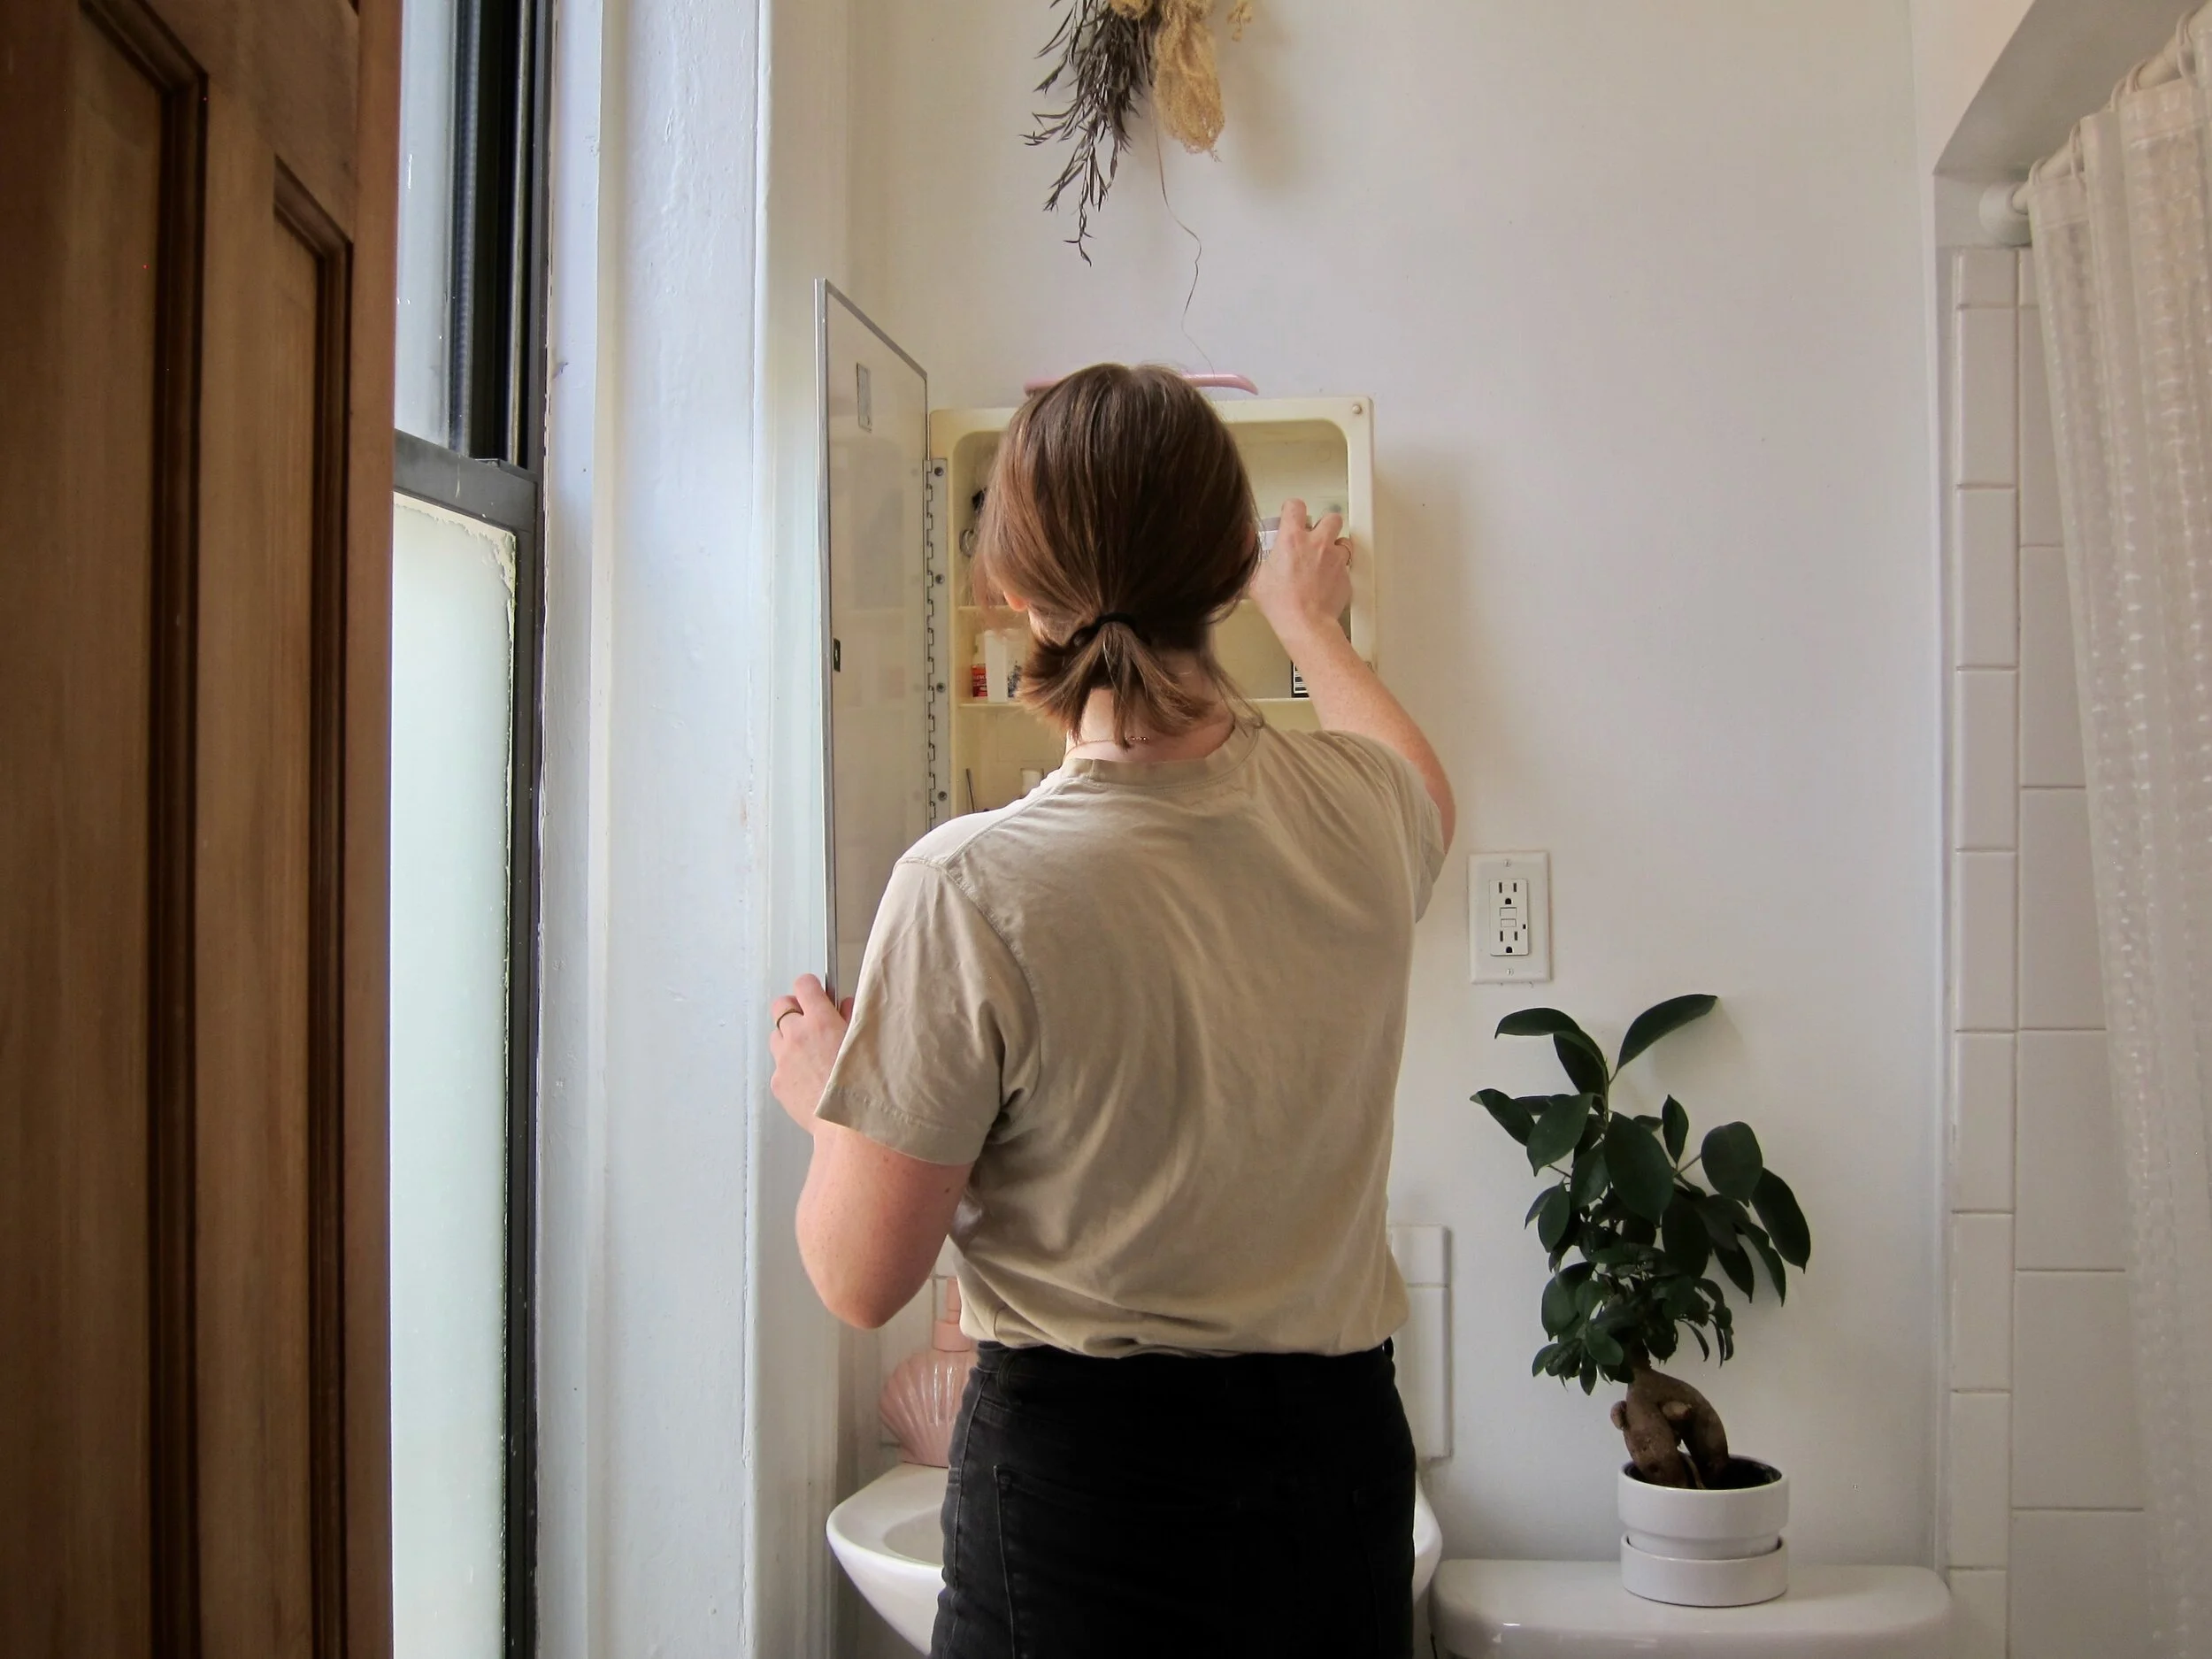
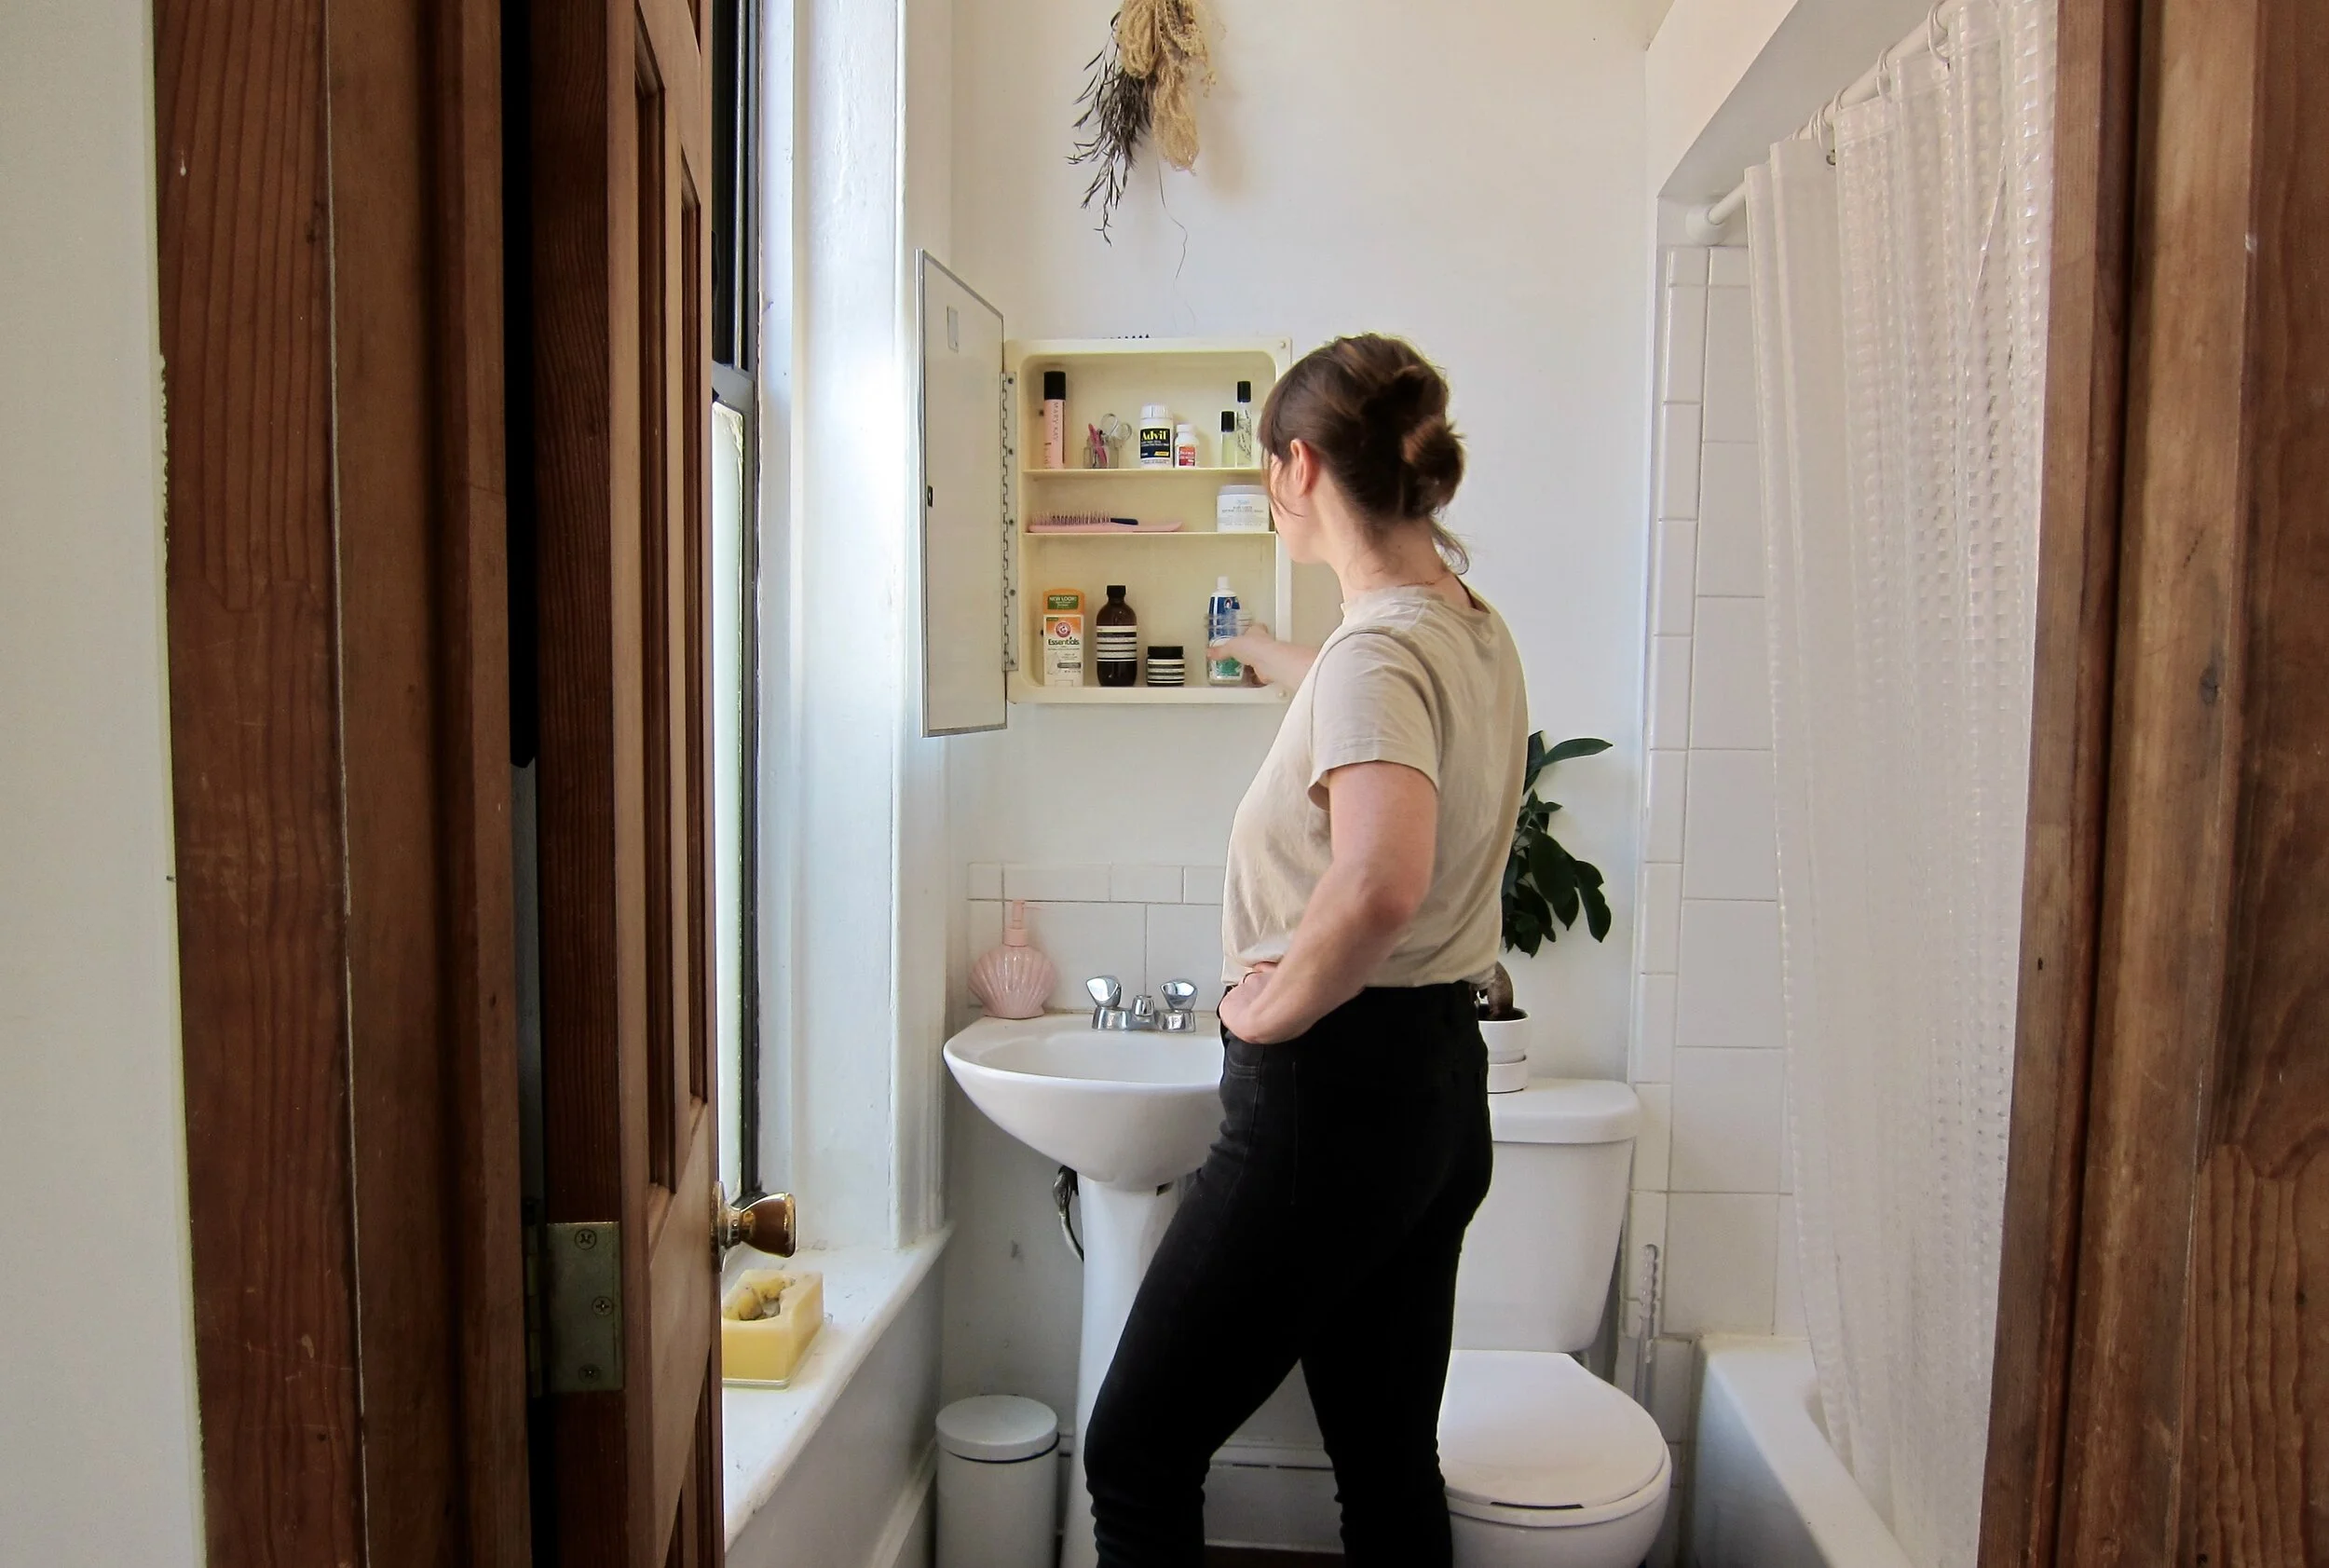
Step 1
First things first. We emptied out the medicine cabinet and cleared off all surfaces.
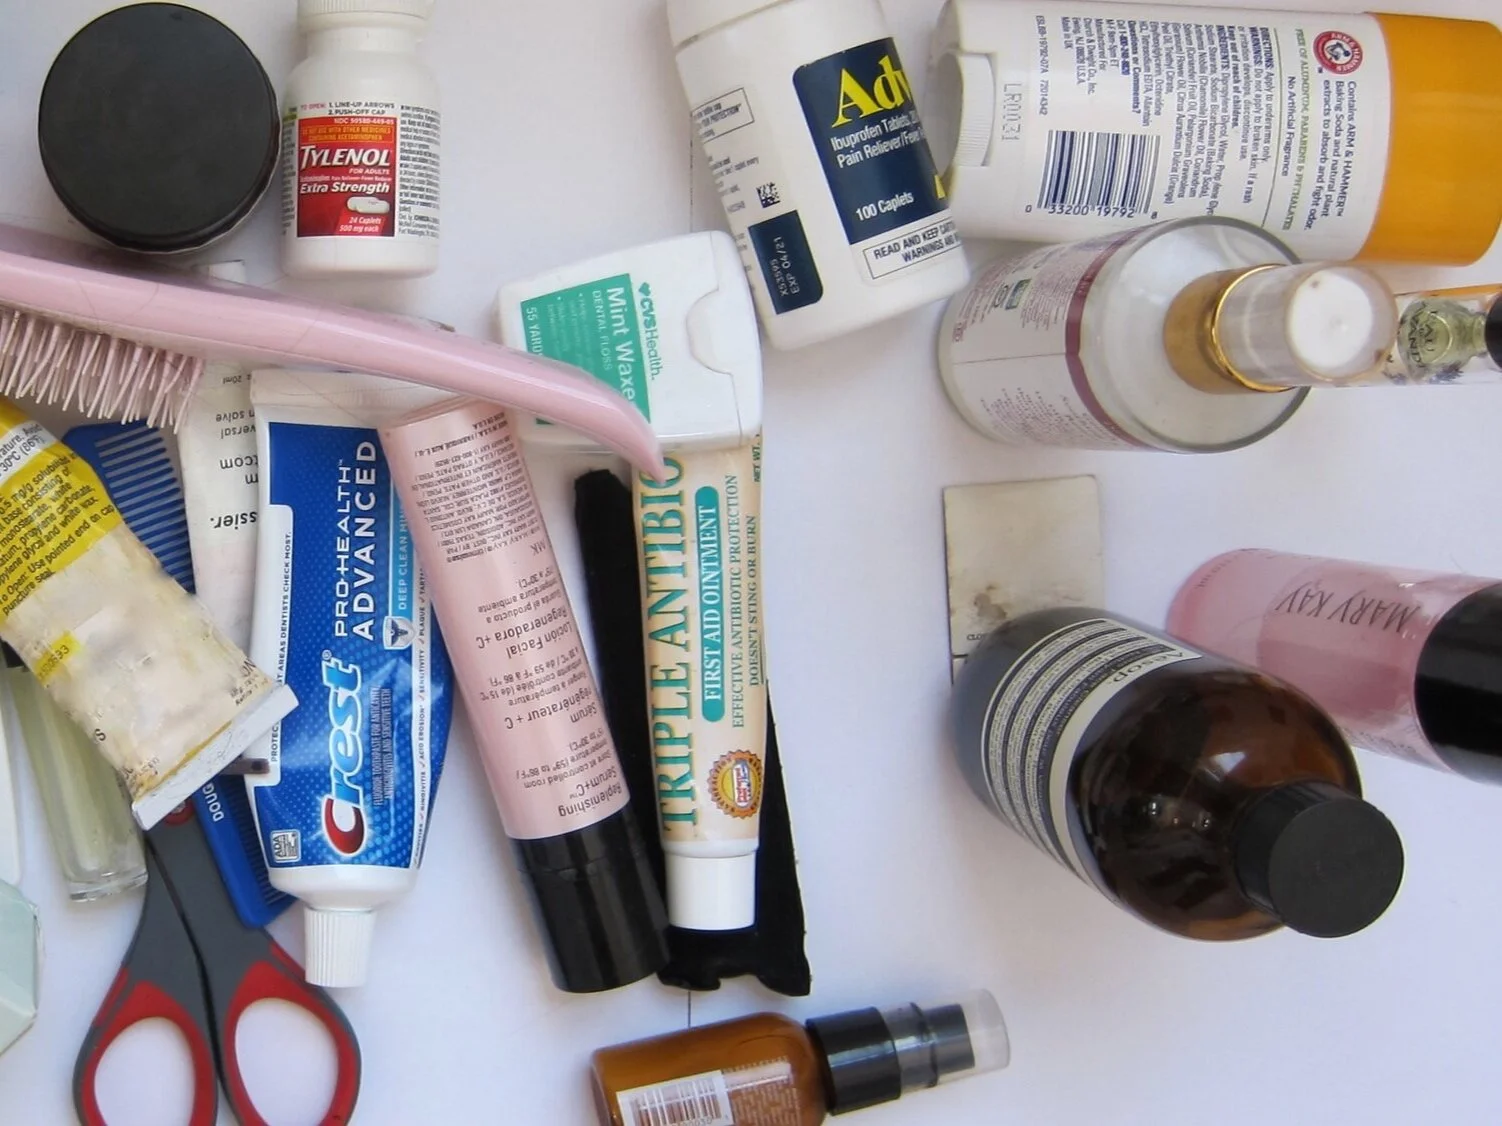
Step 2
We put everything into a pile and sorted it into categories. First, “keep” + “toss”. Once we figured out what to keep, we sorted the items into “daily/weekly” + “once in a while”. Because the medicine cabinet was so tiny, we reserved this valuable real estate for items used daily and weekly.
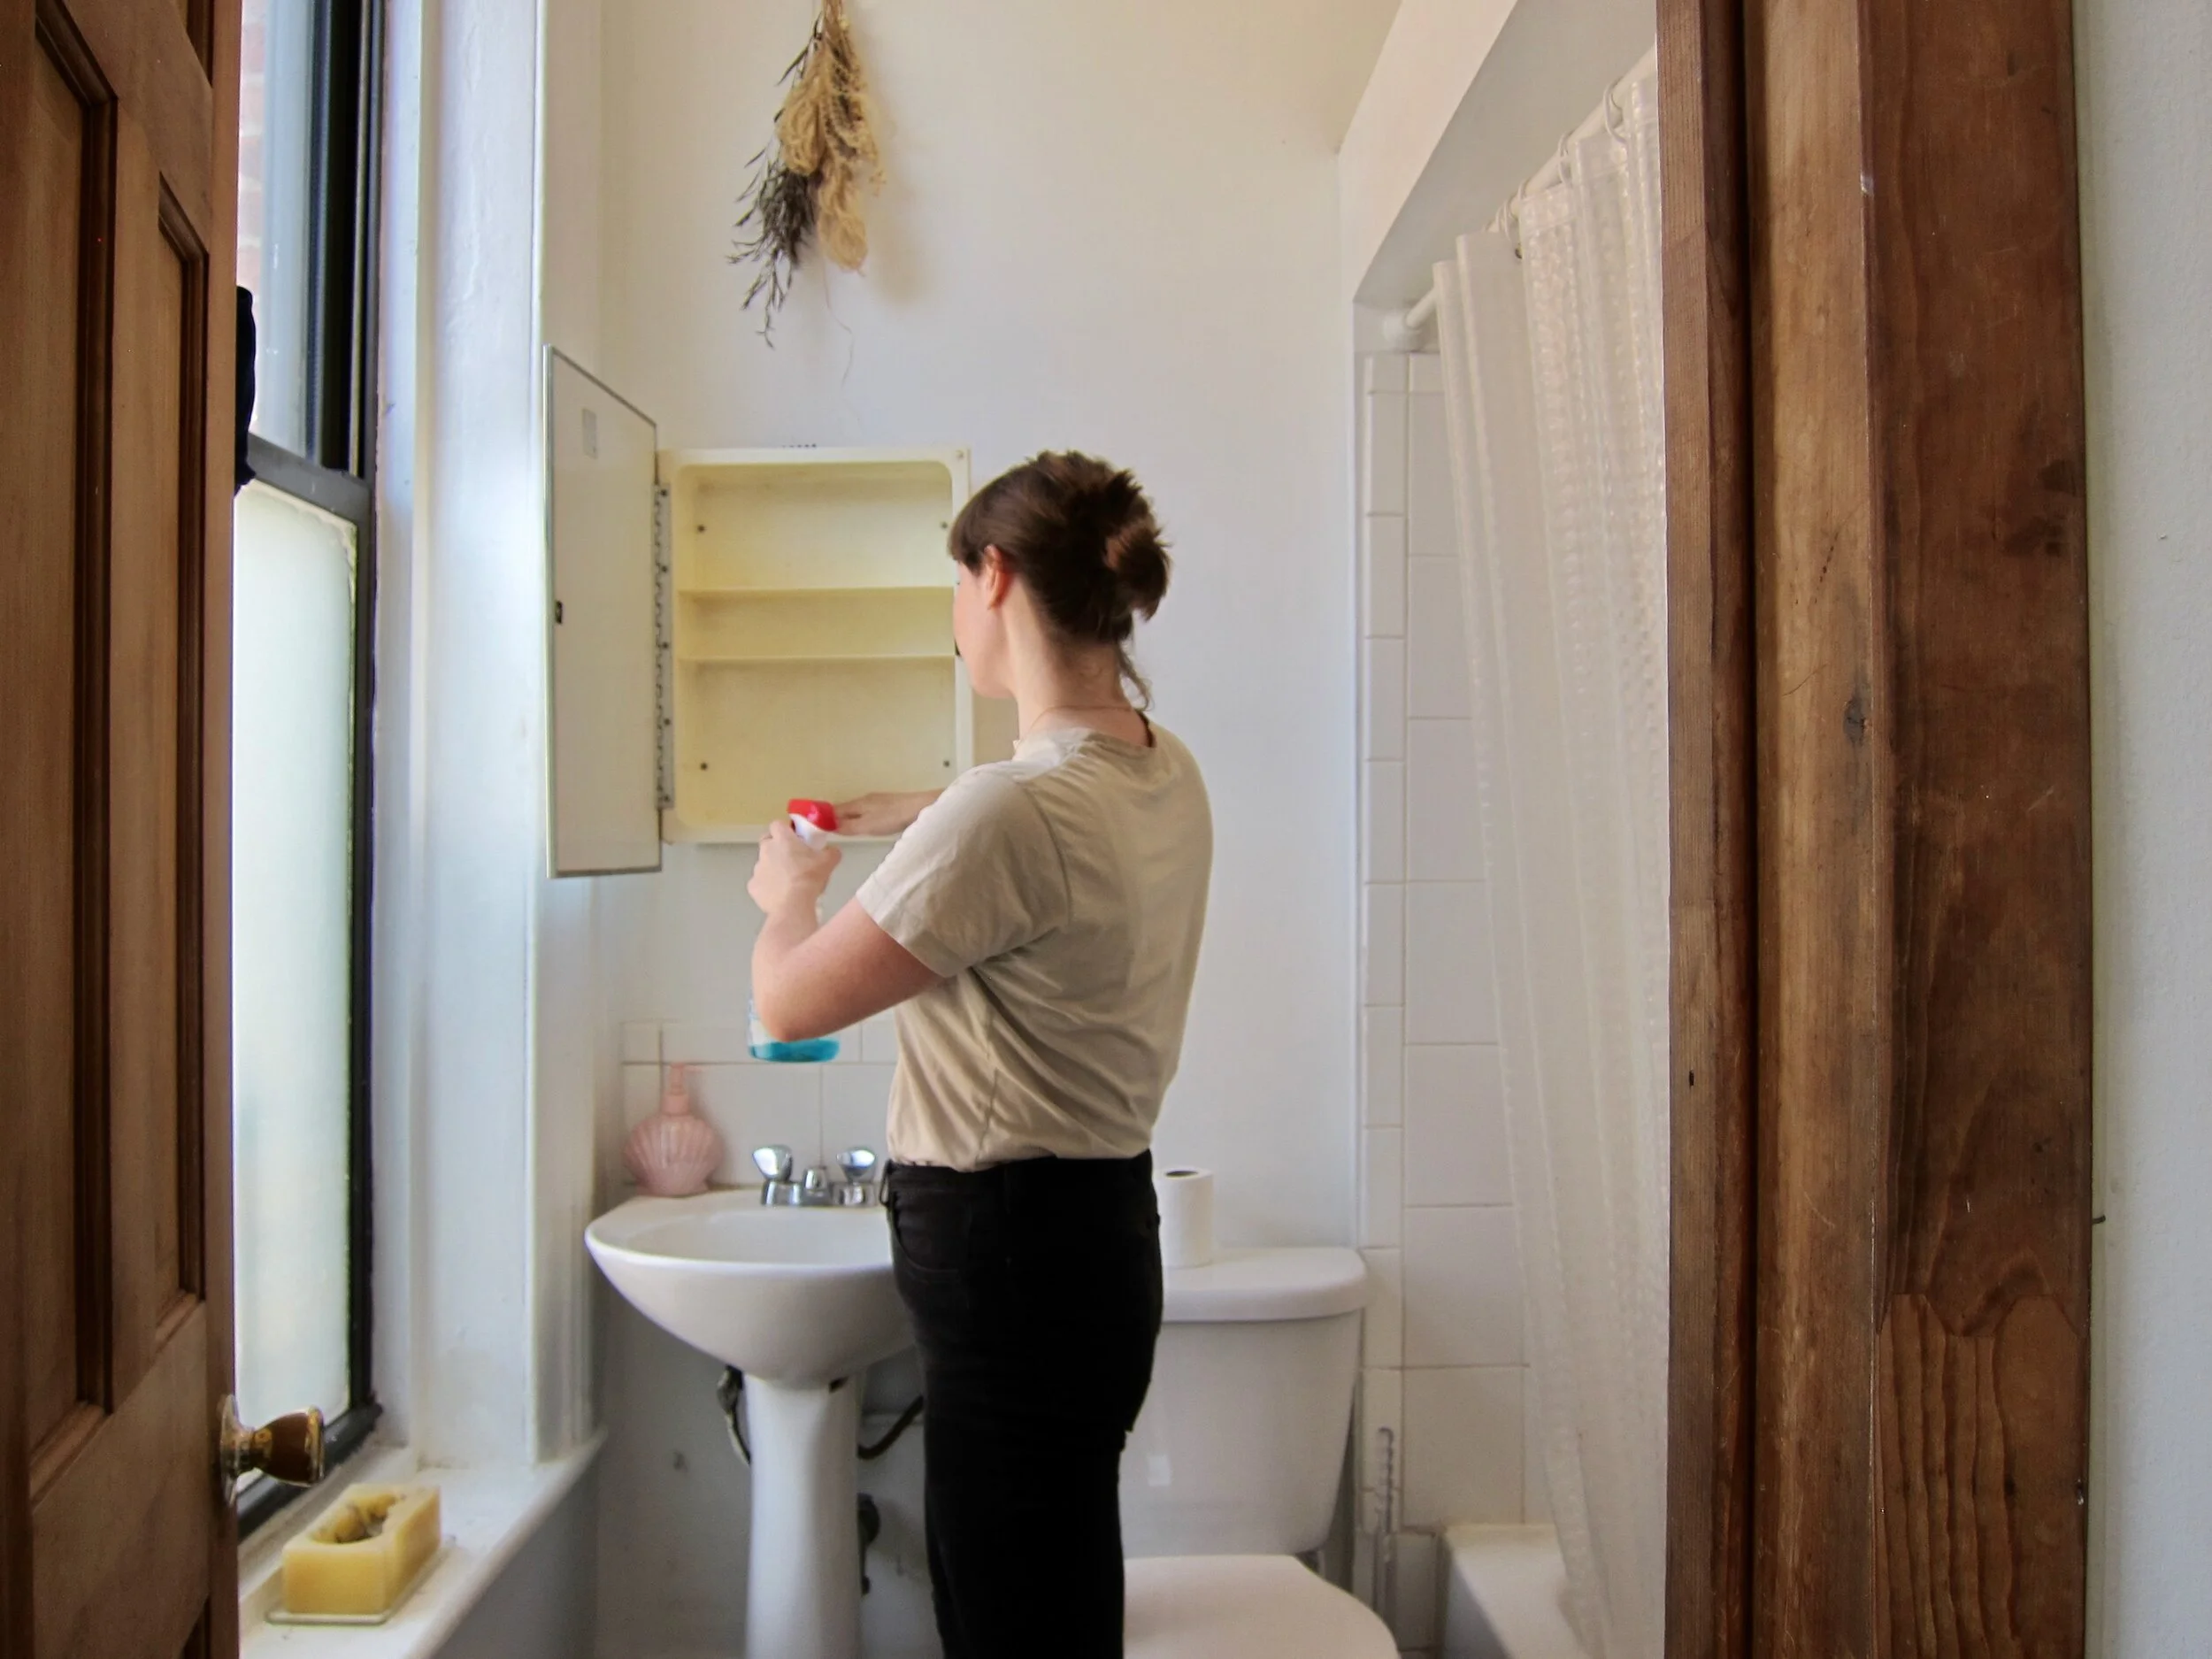
Step 3
Don’t forget to wipe off the surfaces while you have them clear!
Step 4
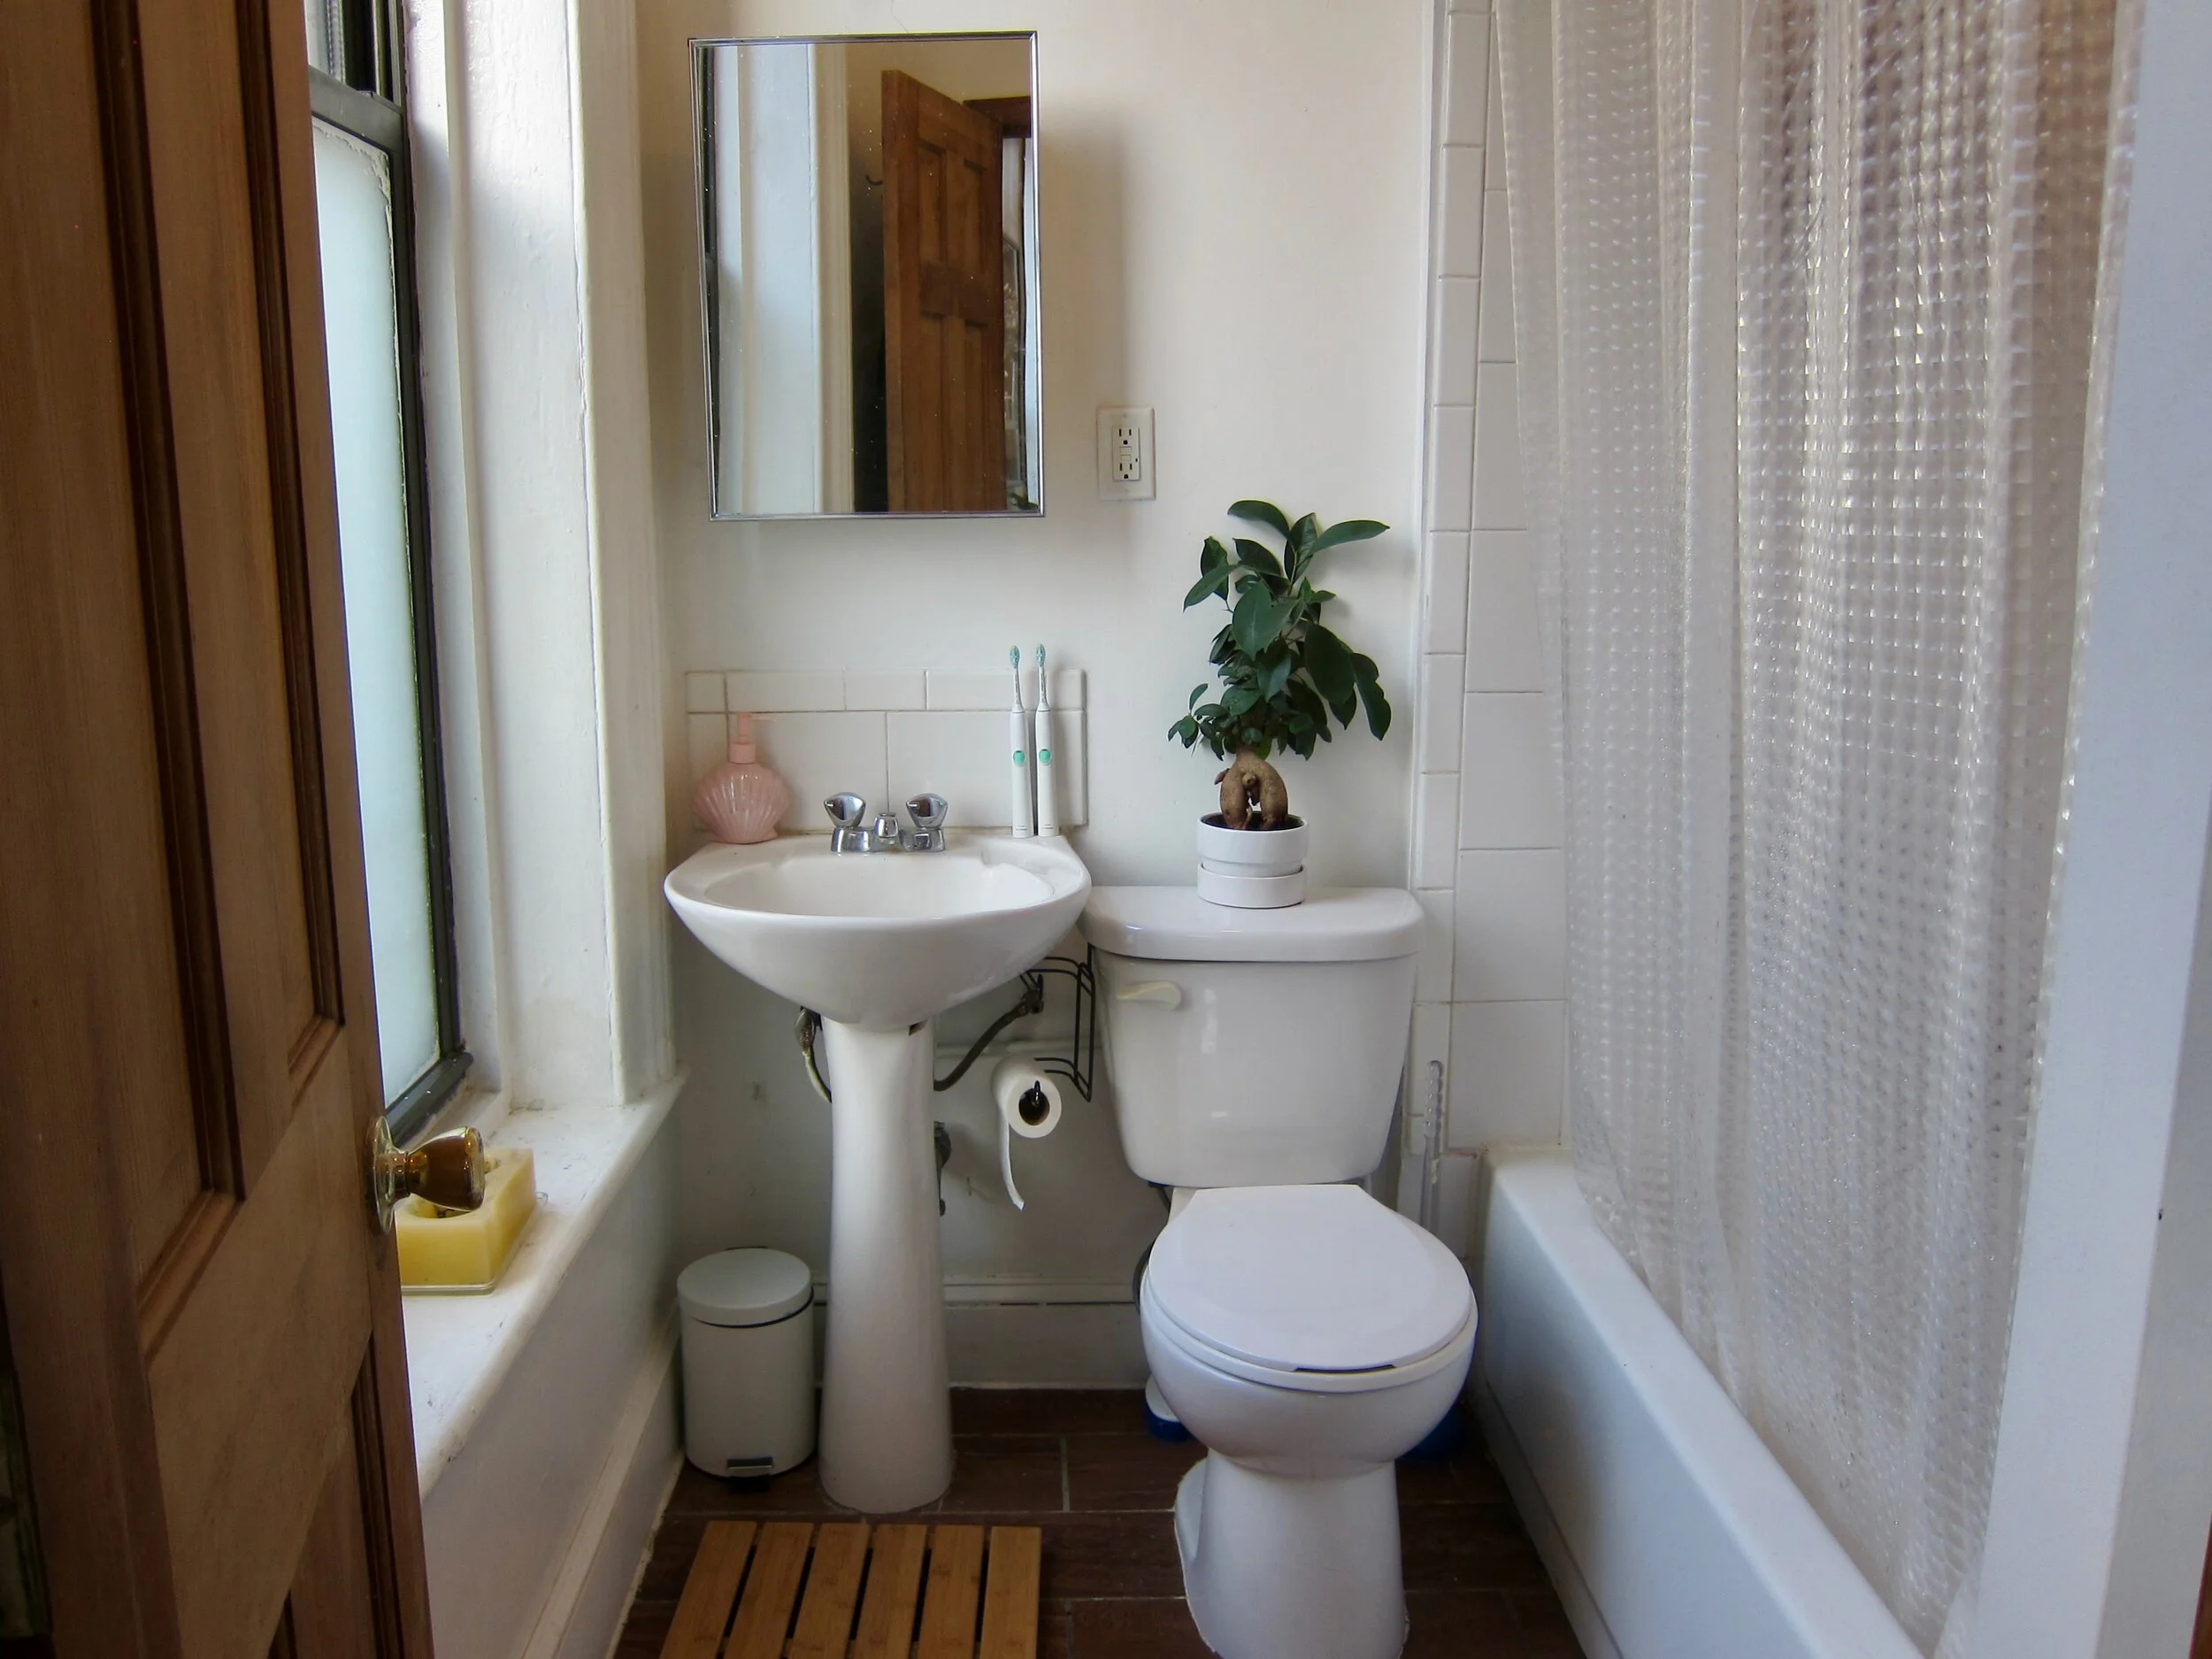
Alright! Time to give this new system a try. The regularly used items fit into the cabinet perfectly. For organizing products, we borrowed two small jars from the kitchen, and purchased the tiny trash can, space saving toilet paper holder, and two bath mats for the space.
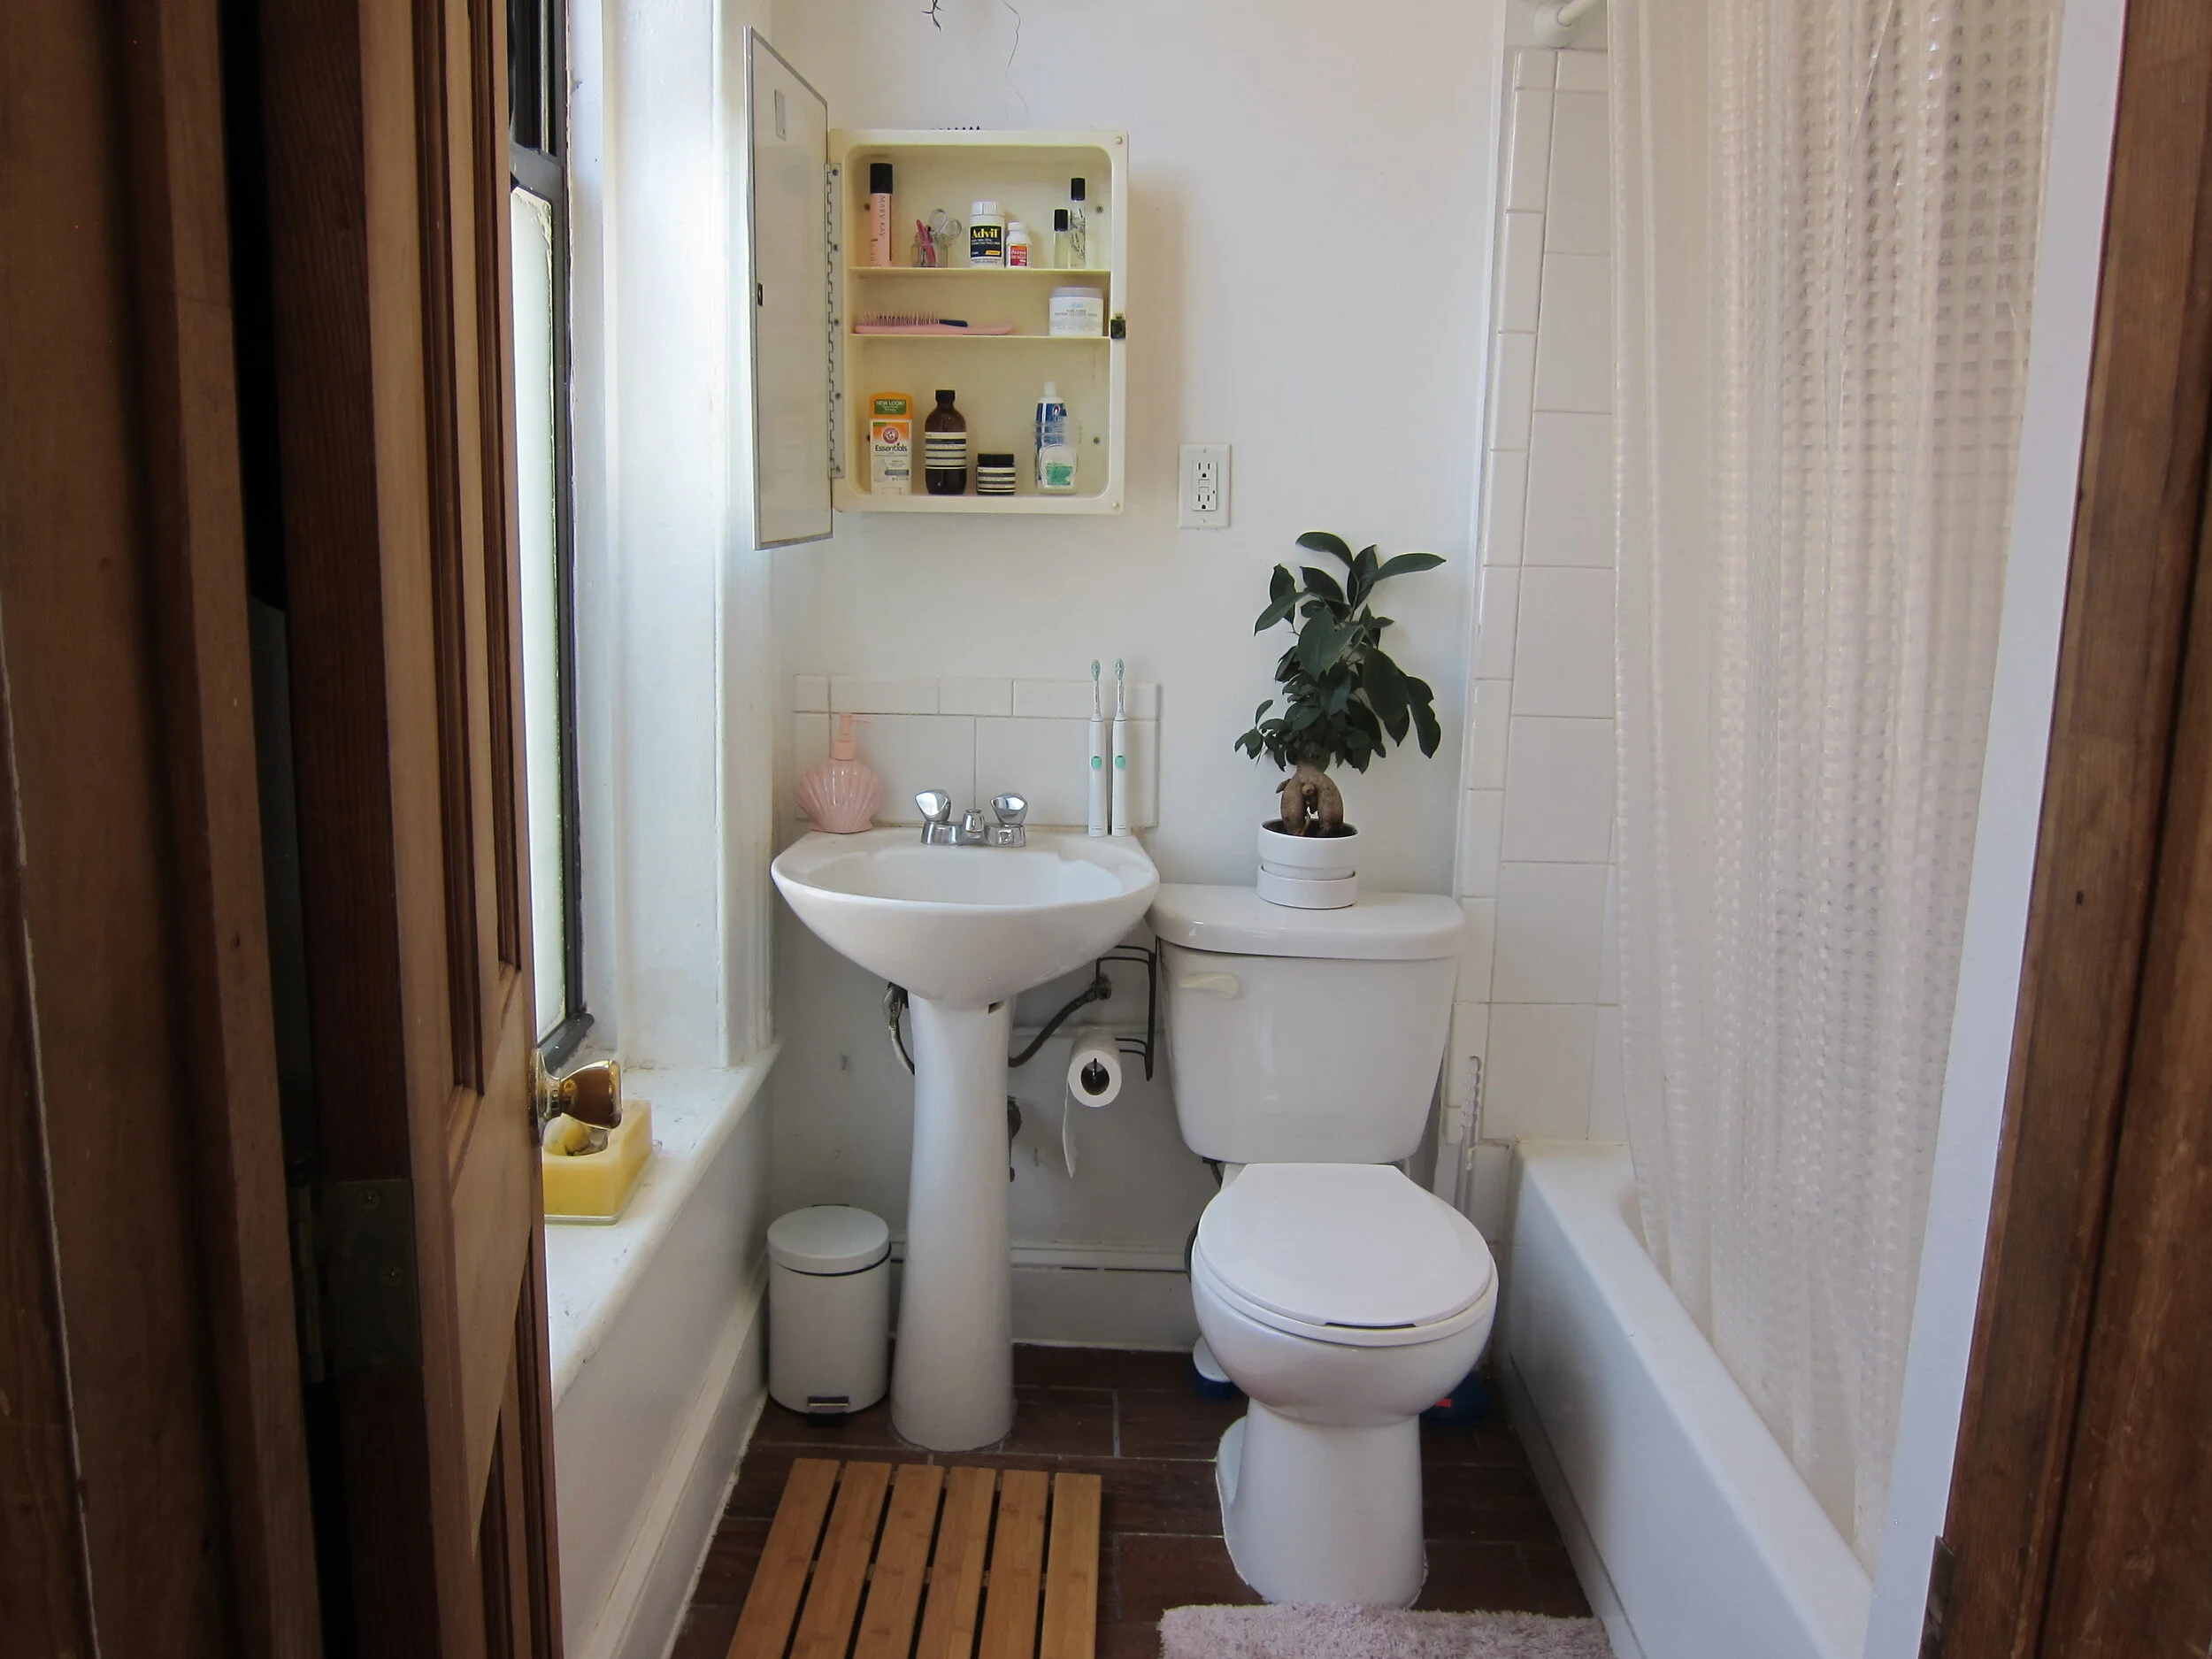
…And Voil
à!
A total makeover. Simple, beautiful, & very functional.
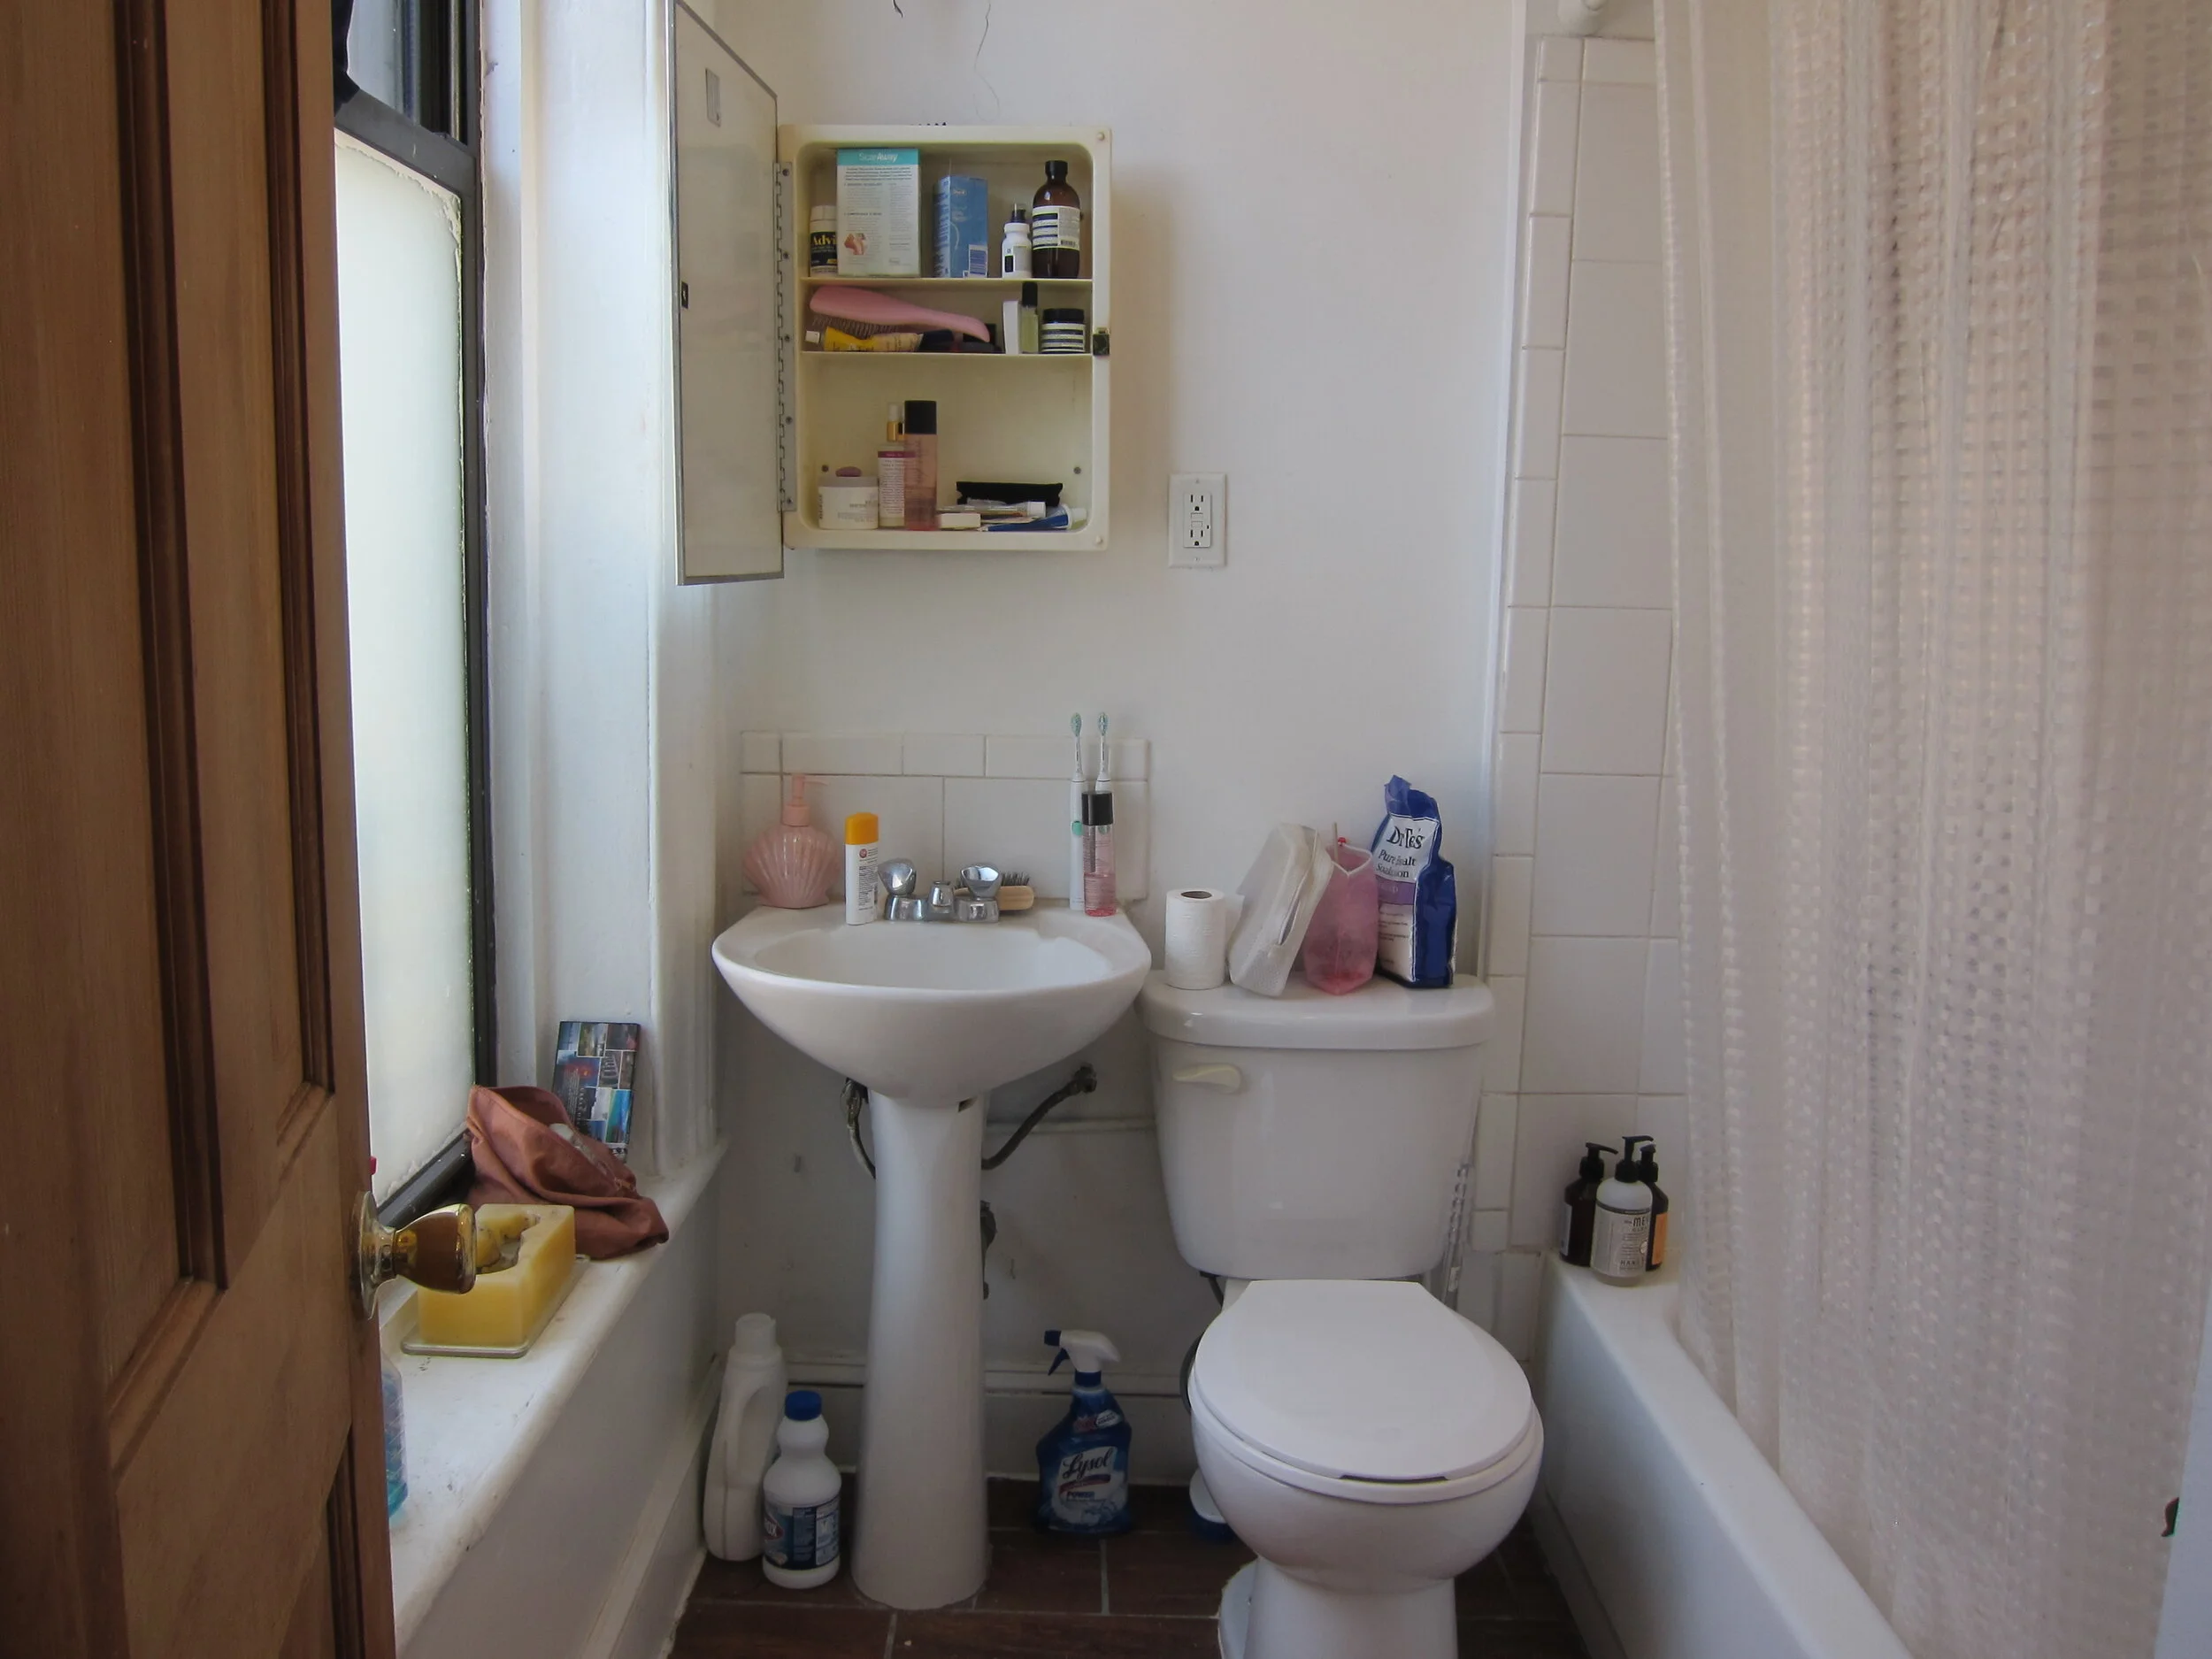
Before
After